
Got the perfect quip for a coffee mug? You can make it happen! From sigils to jokes to that one neat thing you always doodle - slap it on a mug!
Everyone loves a cute mug with a cool design or a sassy quote. Whether for your home or as a fun gift, mugs are enjoyed by everyone at any age. With this in mind, I thought I’d share this super easy tutorial on how to make personalized, DIY marker mugs from Shutterfly.
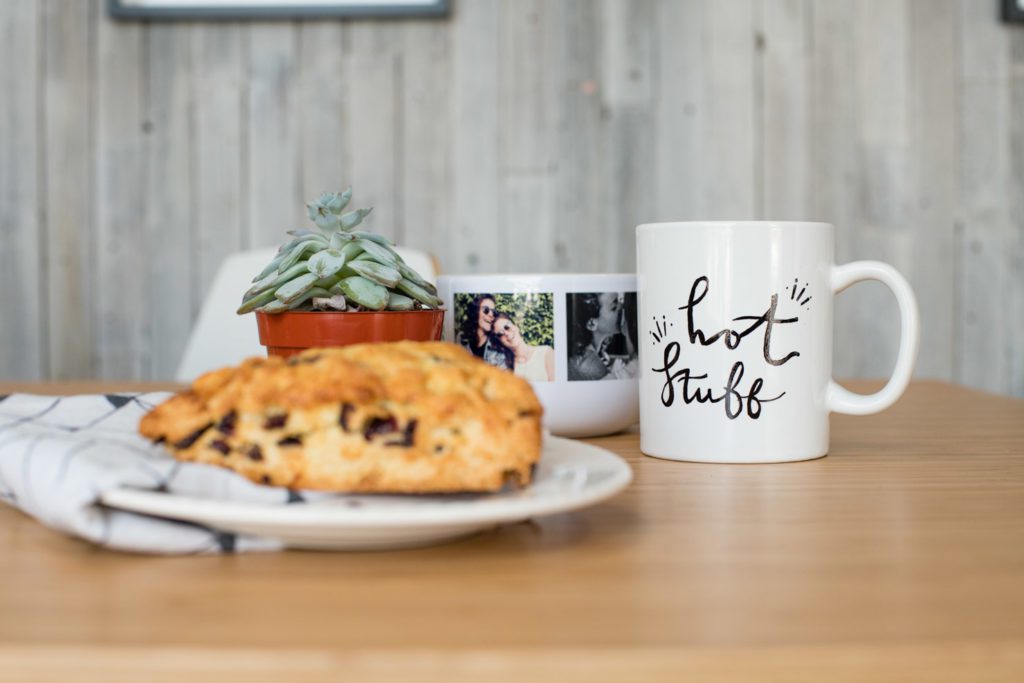
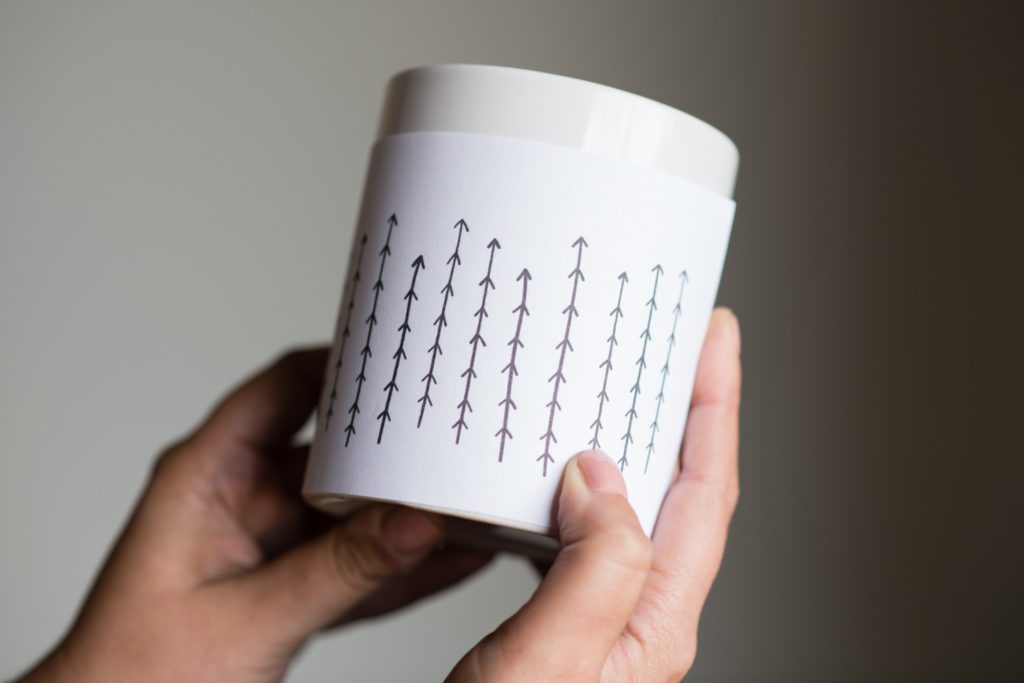
The video and guide show simple, step-by-step instructions to create unique designs that are sure to spruce up any basic mug. They also include some adorable stencils to choose from or you can sketch your own quote or design. Feel free to play with colors as well, the tutorial uses a black and white color scheme but pink and gold, blue and silver or even full rainbow color combinations will make a beautiful mug.
For a complete and unique gift idea, pair with a batch of their favorite coffee roast, some DIY tea blends, or even a bag of some homemade spice blends. Whatever design or color scheme you choose, these mugs will sure make a great addition to anyone’s collection!
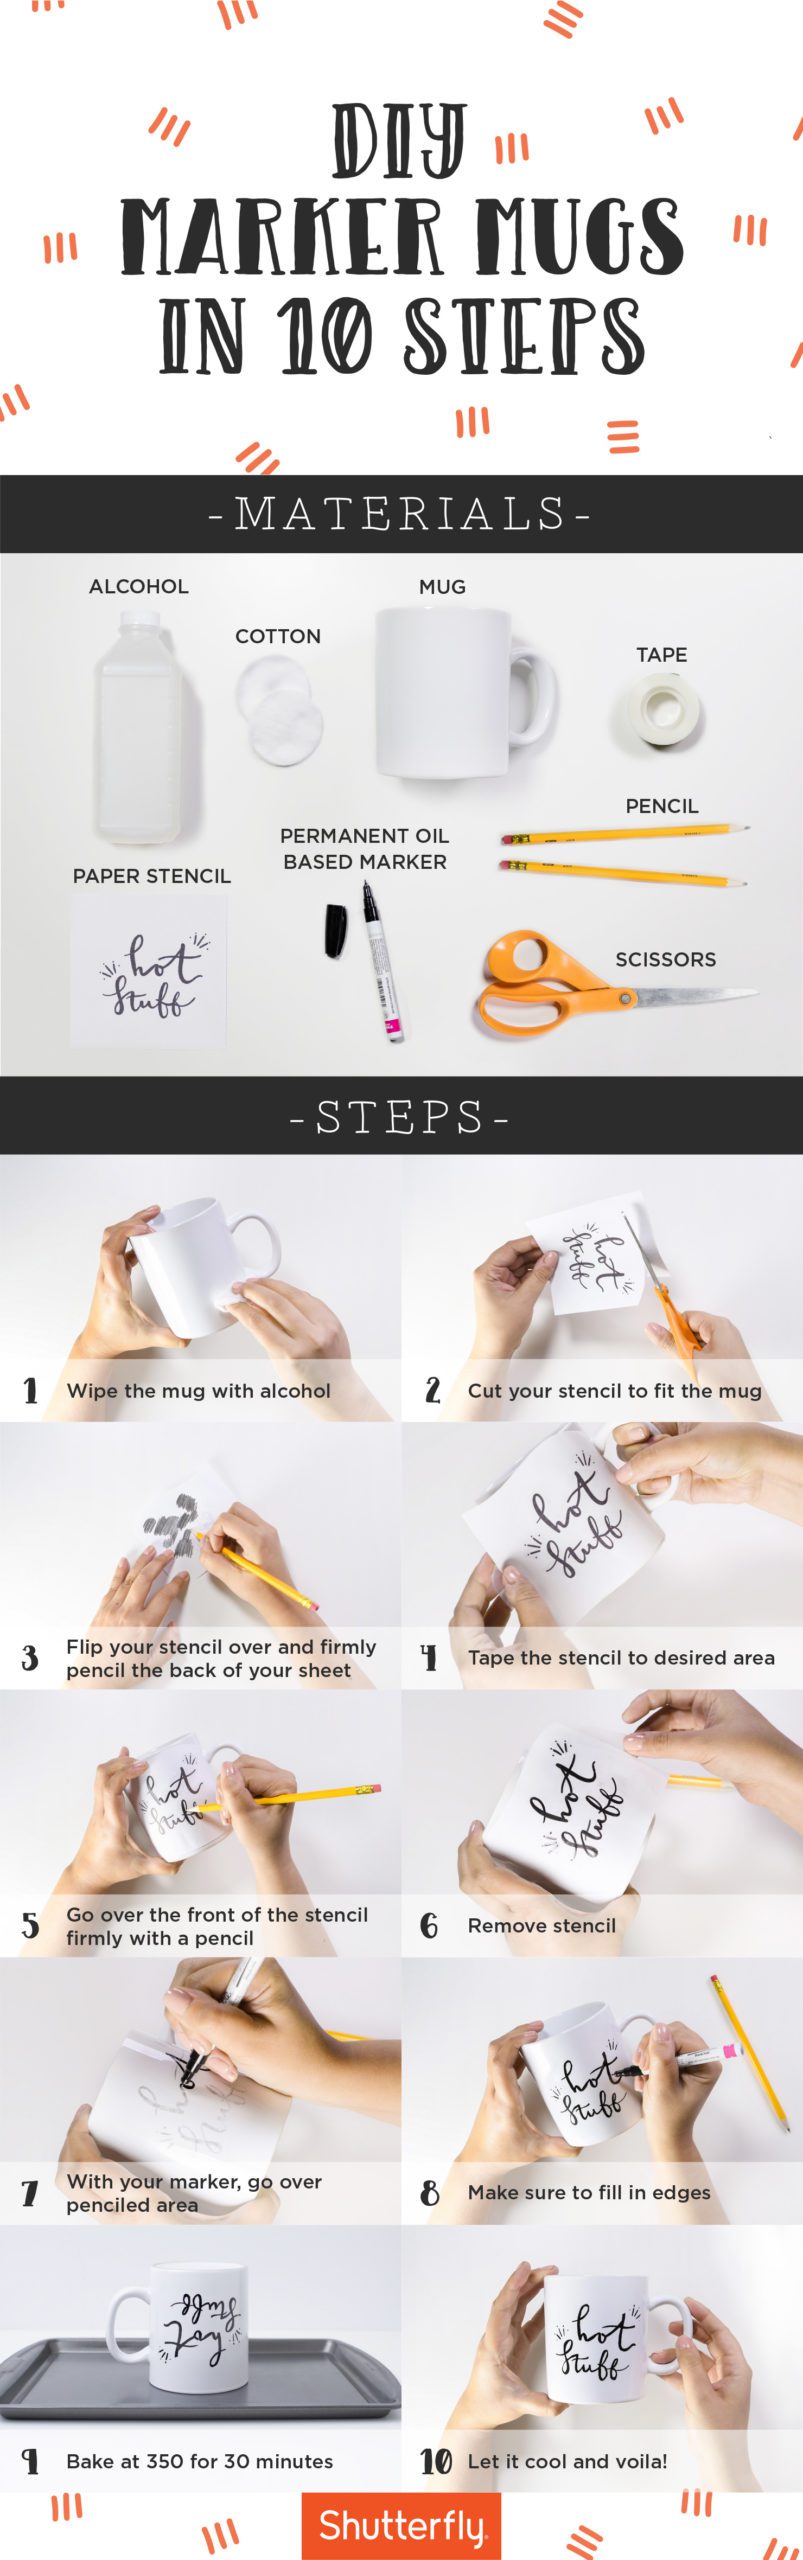
Materials:
- White mug
- Oil-based permanent marker (very important if you will be washing and reusing your mug)
- Printable stencils or paper to draw your own stencil on
- Soft pencil (No. 2 works great)
- Tape
- Rubbing alcohol + cotton
Steps
- Clean your mug with rubbing alcohol. This will remove any residue and ensure your design stays on your mug.
- Cut your favorite stencil and measure it against your cup. Make sure it fits well where you want it to show.
- Flip your stencil over and start penciling in the are where the ink is. Make sure you apply plenty of pressure so that the pencil goes on dark. A No.2 pencil works perfectly for this.
- Tape the stencil to the mug. Once the desired area is covered, grab two pieces of tape and attach to both sides of the stencil.
- Trace the inked area with your pencil making sure you apply plenty of pressure once again.
- Peel off a small section and make sure the pencil has transferred over. If not, tape it back and go over it once more with your pencil. Once it’s fully transferred, peel the stencil off completely.
- With a marker, go over the penciled design. You may need to do this a few times to make sure you’ve filled in everything.
- Clean up your design by retracing any jagged or crooked edges.
- Bake your mug. Place your mug upside down on a baking pan and bake at 350° for 30 minutes.
- Let it cool. Pour yourself your favorite drink and enjoy!
Get updates from Pixie's Pocket: brewing and herbs in your inbox:
Posted In DIY Projects

Amber Shehan
Hi! I'm Amber Pixie, and this is my site. Enjoy the recipes, information, posts, and please feel free to message me if you have questions!
