
Dilly beans are a great way to preserve green beans. Add these spicy, crunchy beans to cheese boards, minced into a relish, or snacked on right out of the jar!
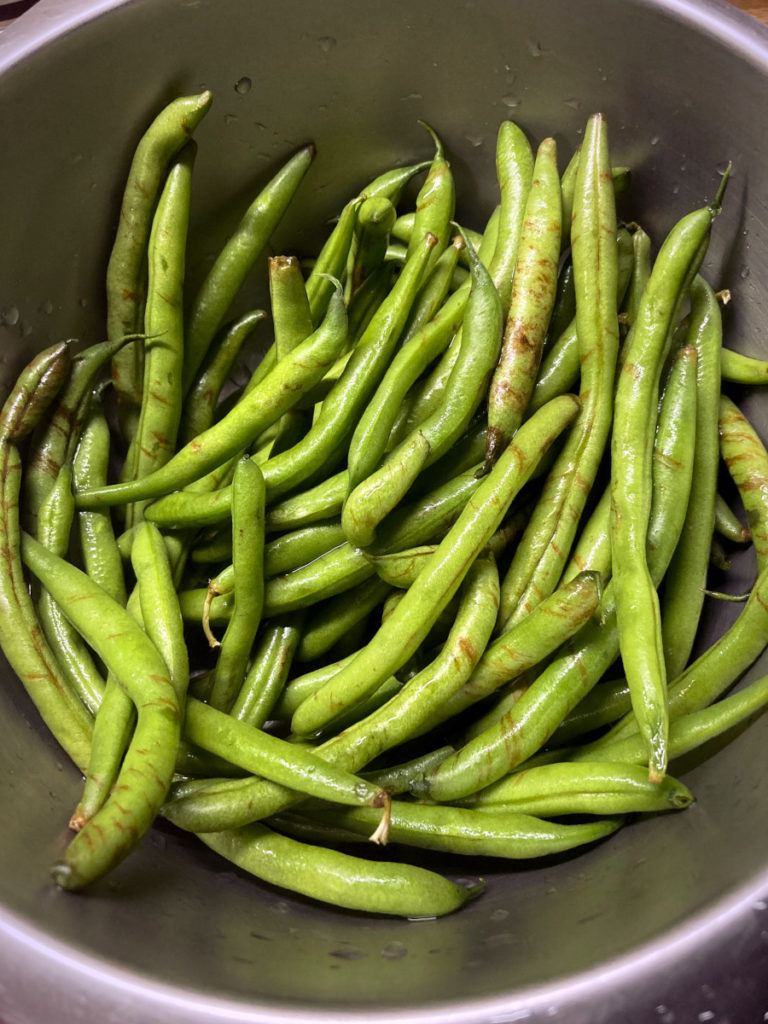
There’s nothing quite like fresh green beans! Even though I didn’t plant enough this year to do much with, the farm markets and shops have been overflowing with bags of beans. I was also blessed by a friend who was harvesting more beans than they could handle and brought us a bag full!
I love green beans sautéed with garlic and squash. A few bags have been blanched and frozen for soups. With such abundance, why not try making dilly beans?
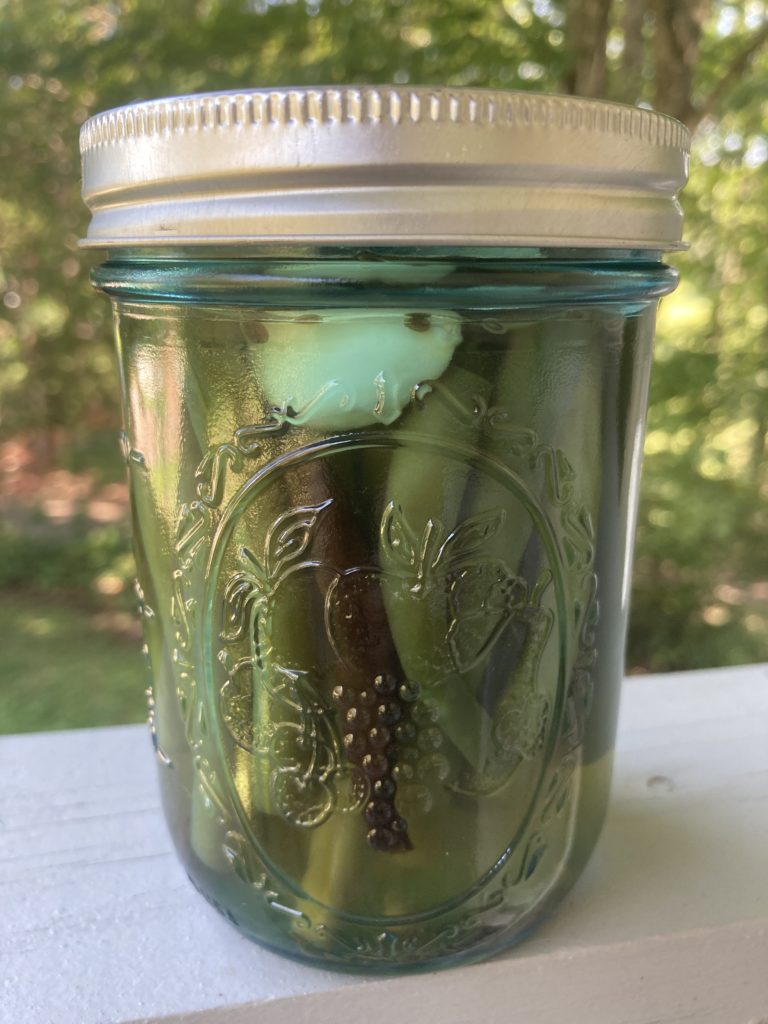
For those unfamiliar with them, dilly beans are green beans that are preserved in a hot vinegar brine with dill flowers and other seasonings. I’ve seen recipes claiming that they are uniquely American, or a Southern specialty, or a Northern staple…but honestly, I figure that anyone with a glut of green beans and a knowledge of making pickle brine might just have figured this out wherever they were from.
My first attempt at making dilly beans used the recipe from Marisa McClellan on Serious Eats. I halved the recipe because I only had enough green beans for two wide-mouthed pint jars, but it worked beautifully. I’m not one to keep to instruction, so I couldn’t help but tamper with it further. One jar went by the recipe to act as a control group, and the other had fresh herbs and peppercorns added.
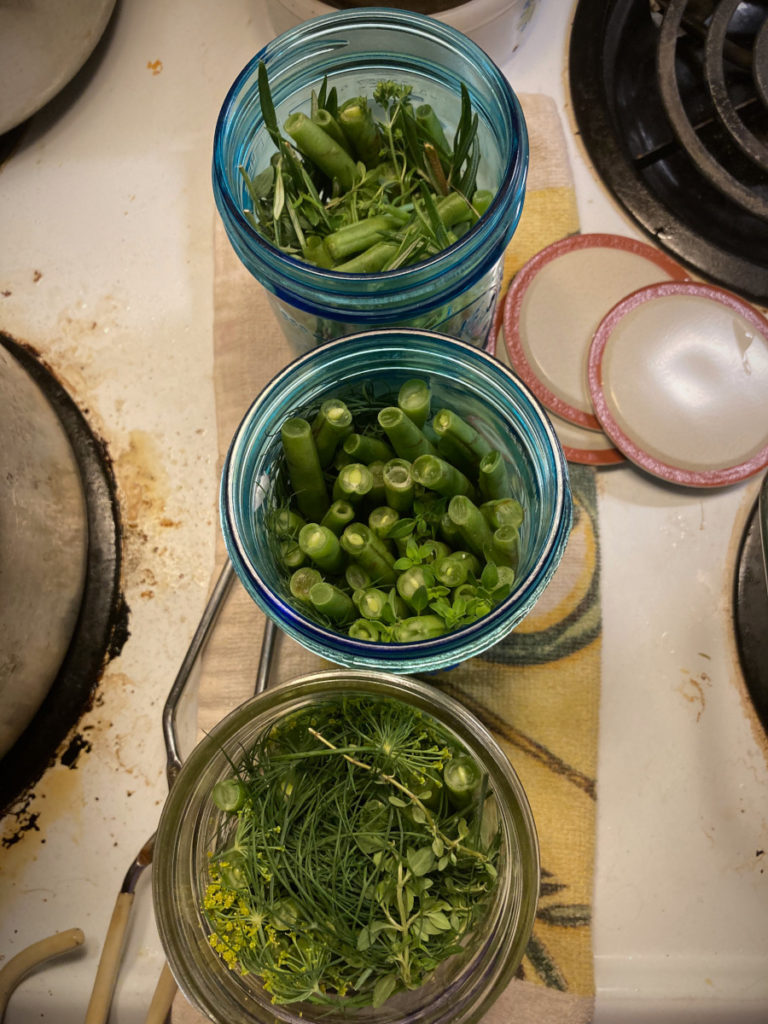
My herb garden has been abundant this year, so why not include that as an ingredient? A few sprigs of rosemary and some bits of thyme and oregano joined the rank and file of green beans tight-packed into the blue jars.
Don’t wait around, friends. Dilly beans are quick and easy to make, even if you’ve never tried making pickles before. Stuff the jars, boil the brine, and if you want to preserve them, use a water bath for canning. If you aren’t into canning, they’ll stay good in your fridge for about six months.

How do you use dilly beans?
Lay them out: Dilly beans are great on charcuterie boards or buffet tables alongside pickles and giardiniera. Their sharp, spicy crunch packs a palate-cleansing punch but the burn doesn’t linger.
Spice up your recipes! Dice dilly beans into your chicken salad instead of pickle relish. Chop a few and toss them in a wilted greens salad with pecans and bacon.
Cocktails! These green bean rockstars are also the perfect garnish for a savory Martini or Bloody Mary made with green bean brine. Hot, spicy, and crunchy, these make a great addition to any household bar.
Herbed Dilly Beans
Dilly beans are a tasty way to preserve a green bean harvest. These spicy, crunchy green bean pickles are rockstars on a charcuterie board, set out on a buffet, or just snacked on out of the jar. This recipe adds fresh herbs to the traditional dill, garlic, and red peppers for a more complex flavor. Dig in!
Ingredients
- 2 1/2 cups apple cider vinegar
- 2 1/2 cups water
- 4 tablespoons sea salt
- 10 cloves garlic
- 10 dried dill flower heads (or teaspoons dill seed)
- 10 dried cayenne peppers
- 50 black peppercorns
- 10 sprigs of fresh rosemary
- Enough fresh oregano and thyme to add a few stems to each jar
Instructions
- Prepare your water bath canner and wash your pint jar. Put new lids on low heat to simmer.
- Wash your beans and trim off the ends. Cut them to fit the jars. You can save the small cut parts to blanch and freeze for soup, or saute up for dinner.
- Pour the vinegar, water, and salt into a saucepan and let it come to a boil.
- If you are using whole dill flower heads, lay the jar on its side and put the flower in the jar so that it looks like a firework! Otherwise, pour the dill seeds and peppercorns into each jar and then pack the beans into the jars neatly. Tuck the hot pepper and garlic cloves into each jar.
- Carefully ladle the hot brine into the jars and leave 1/2 inch of headspace. Use a chopstick to remove air bubbles and add more brine if needed.
- Wipe the rims clean, put on the lids and rings, and process the jars in the hot water bath for 10 minutes. When they are dry, label and date them and store them in a dark, cool place. You can eat them right away but they’ll be more flavorful if you wait at least a week before eating them.
- If you don’t use a water bath canner, these are good for about 6 months if stored in the refrigerator.

Get updates from Pixie's Pocket: brewing and herbs in your inbox:
Posted In Real Food Recipes, Recipe Box
Tagged: green beans

Amber Shehan
Hi! I'm Amber Pixie, and this is my site. Enjoy the recipes, information, posts, and please feel free to message me if you have questions!
Related Posts
Sorry, we couldn't find any posts. Please try a different search.